Get into Boot Option to set computer boot from USB drive
Insert USB device, start/restart your laptop/desktop computer, and immediately press Boot Option Key (F12, Esc, F8) repeatedly until get into Boot Option.
When get into Boot Option, press the up and down (↑↓) key to select your USB device, and press (+/-) key to move it to the first boot option.
After setting your USB drive to the first boot option, press F10 to exit, and press Enter to save the change and boot computer from USB drive.
For example:
- Dell: Insert the bootable USB drive, restart, press F12, then set “USB Storage Device” as first boot option.
- HP: Insert USB, restart, press Esc → F9, choose USB drive to boot.


Way 2: Get into BIOS/UEFI settings to boot from USB drive
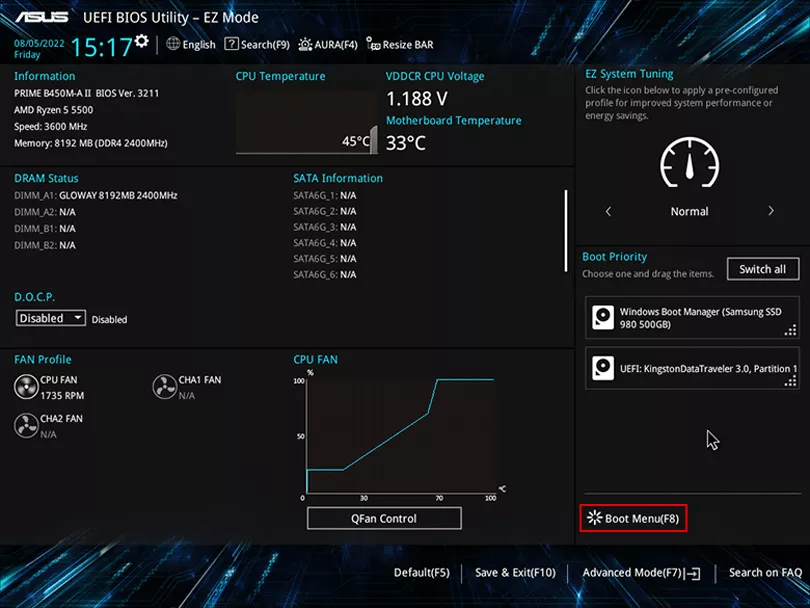
Option 1: UEFI BIOS Utility – EZ Mode
Insert USB, restart, and press BIOS Hot Key (F12, Del, F11, F1, F9) repeatedly until UEFI BIOS Utility appears.
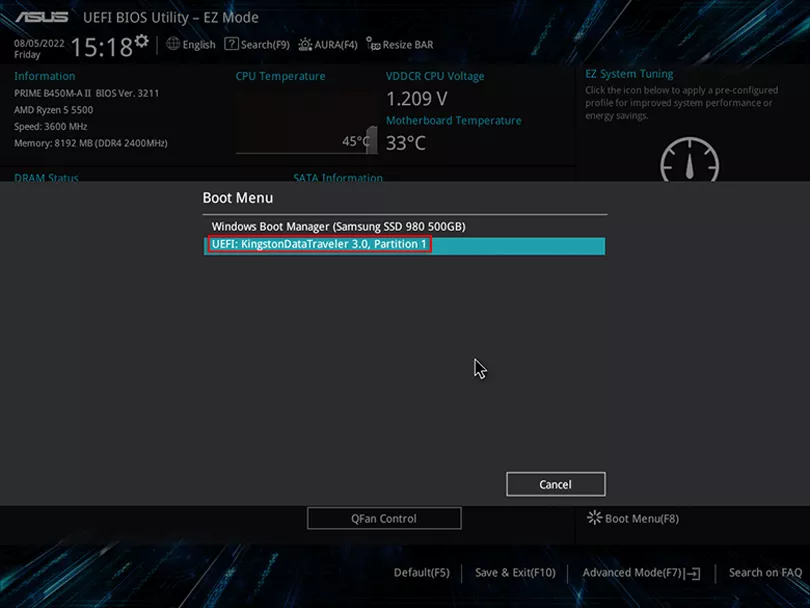
In EZ Mode, click Boot Menu or press F8.
On Boot Menu, use arrow keys or mouse to select USB flash drive.
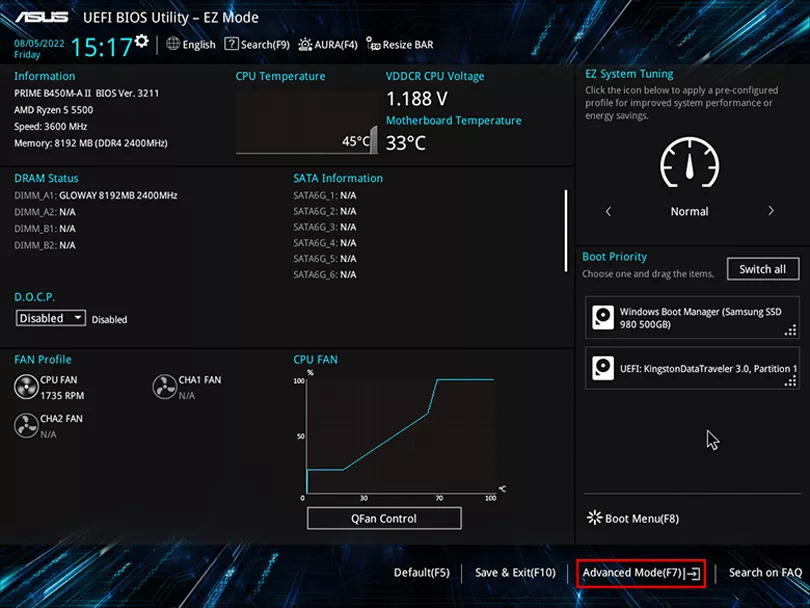
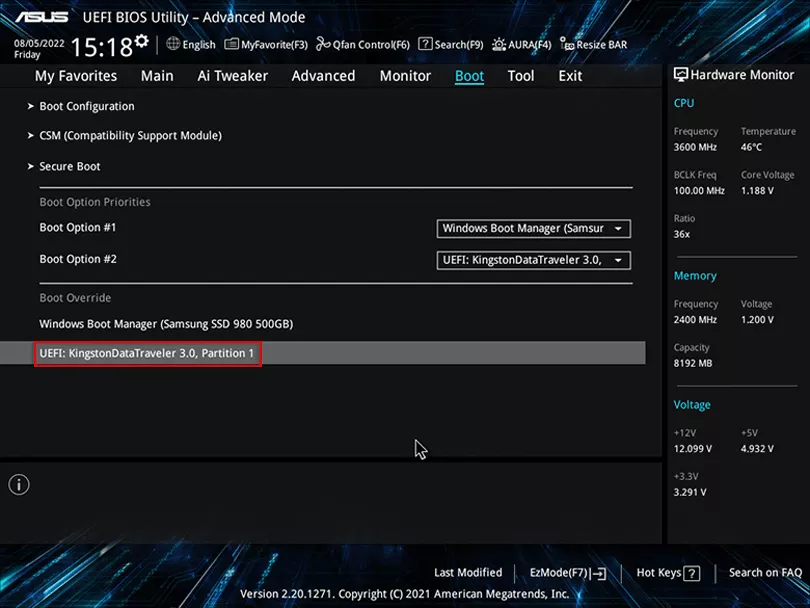
Option 2: UEFI BIOS Utility – Advanced Mode
From EZ Mode, click Advanced Mode or press F7.
Go to Boot tab.
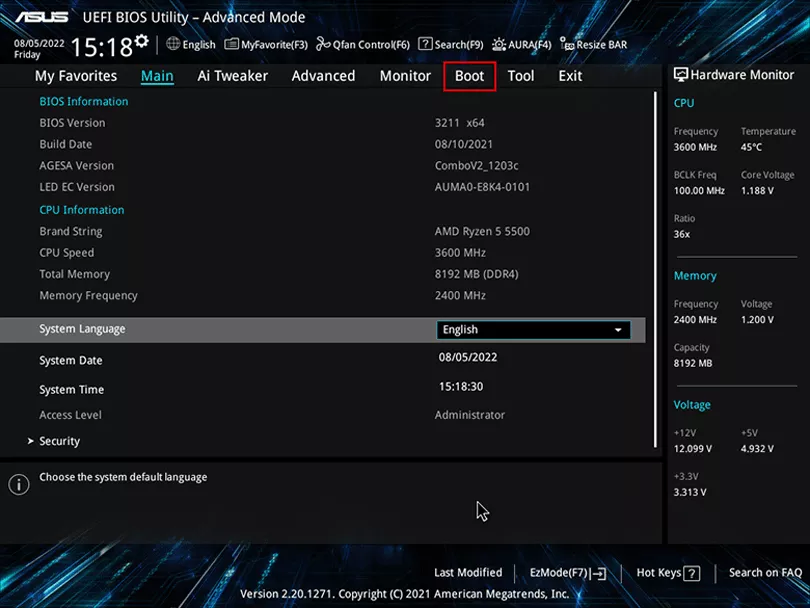
Select your USB drive from boot options.
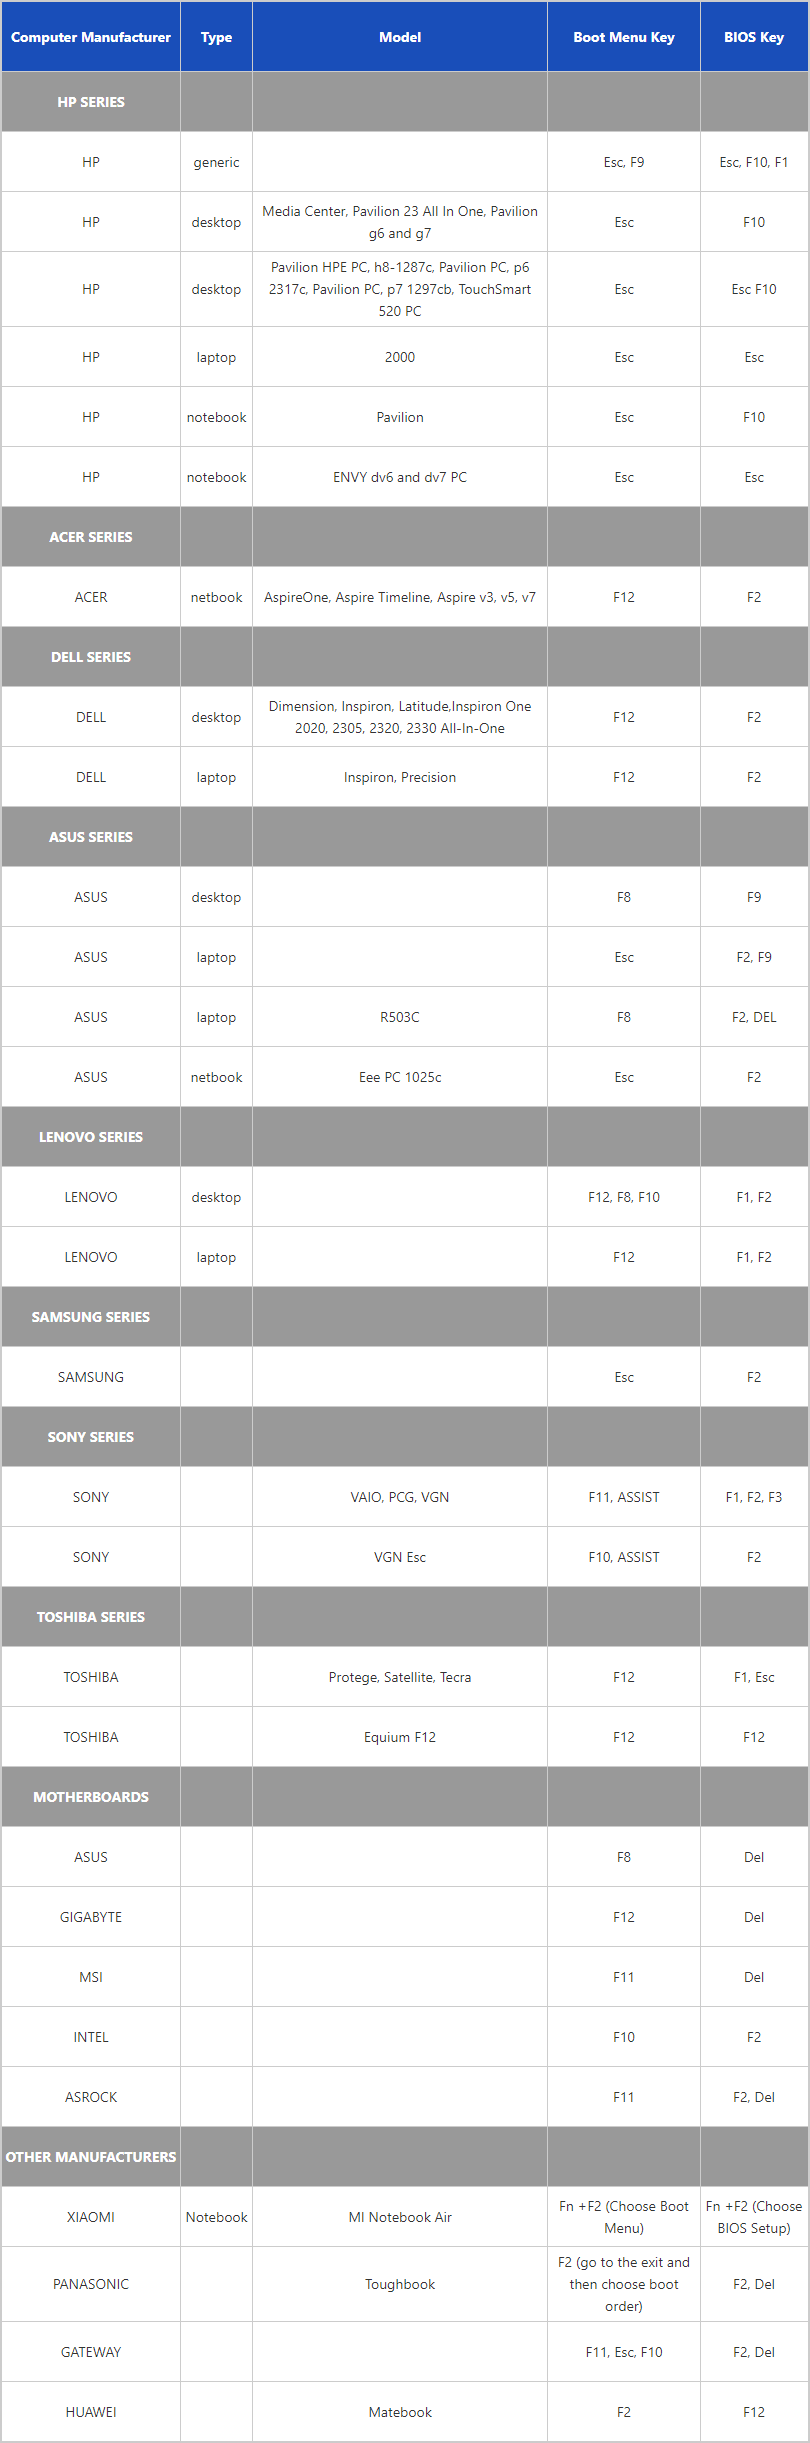
Boot Menu or BIOS/UEFI Keys Table
Keys vary by brand. Common options: F12 (Dell, Lenovo), Esc + F9 (HP), Del/F2 (ASUS, MSI, Gigabyte).
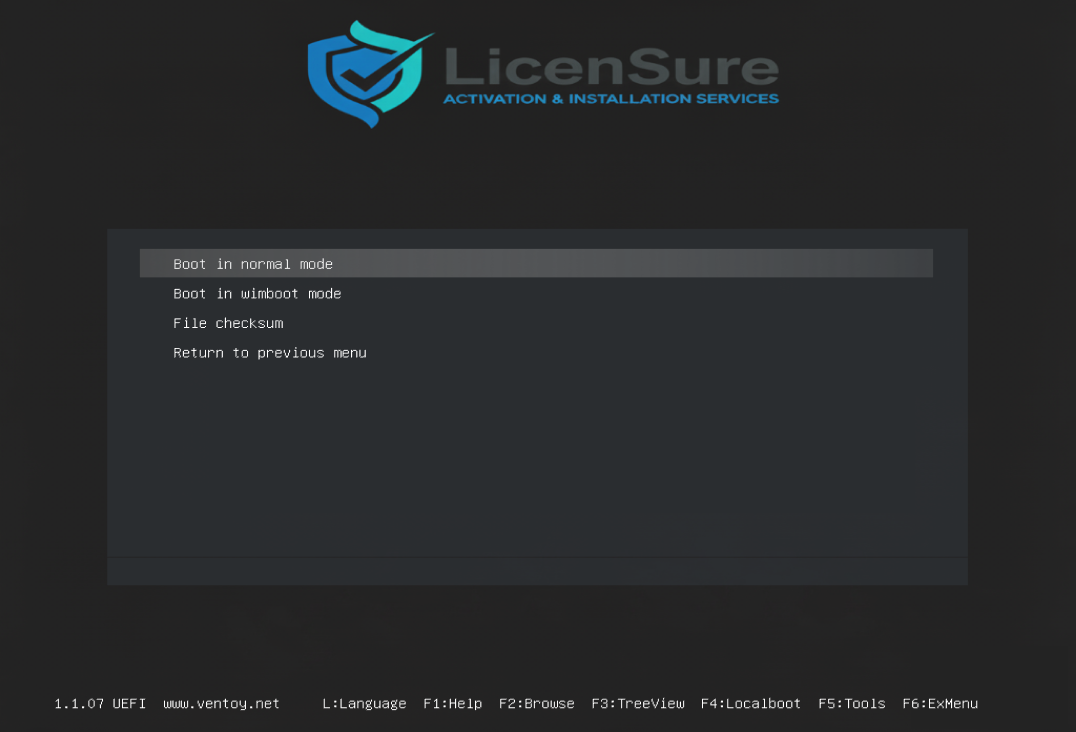
Enter USB system
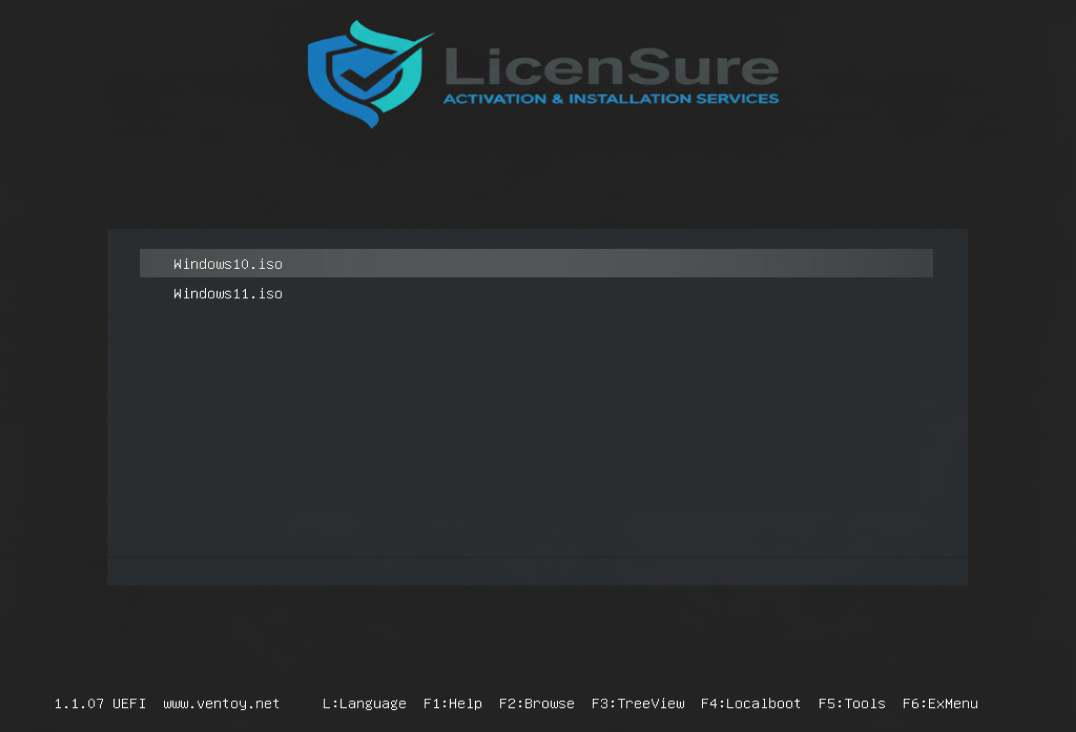
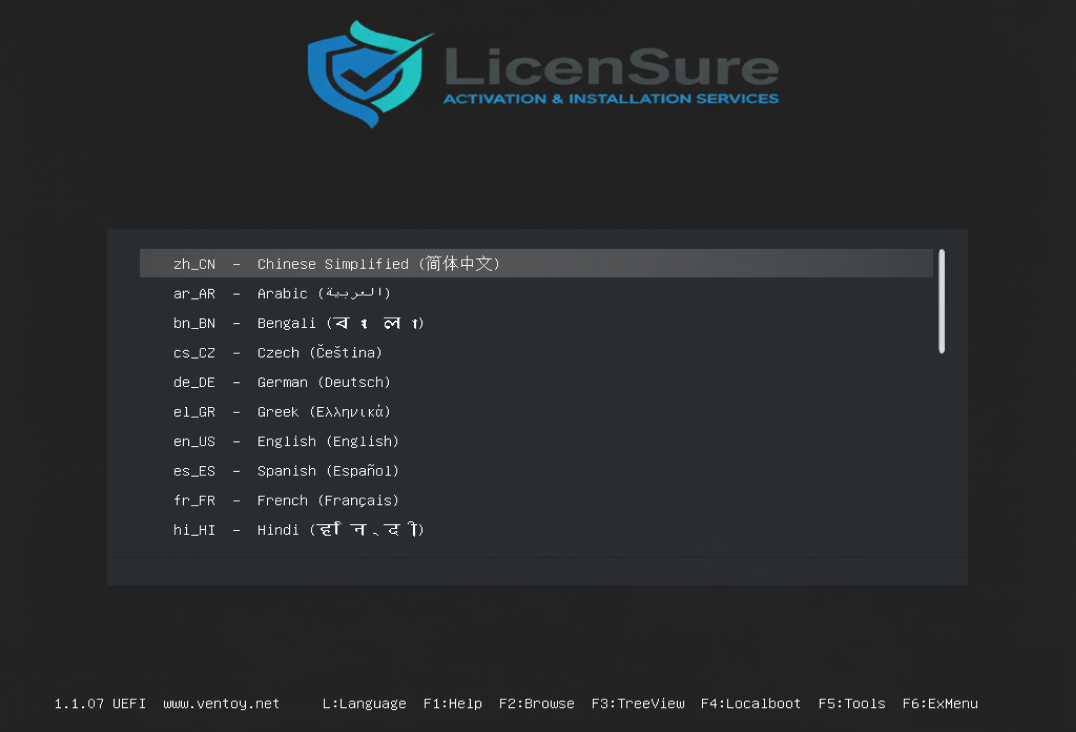
Click "L"Set your desired language
Click "Esc"Return, select the system version you want to install

Click "Enter"choose Boot in normal mode
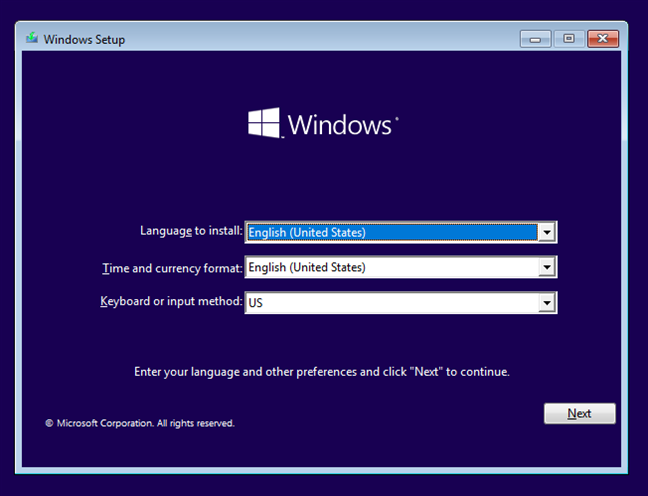
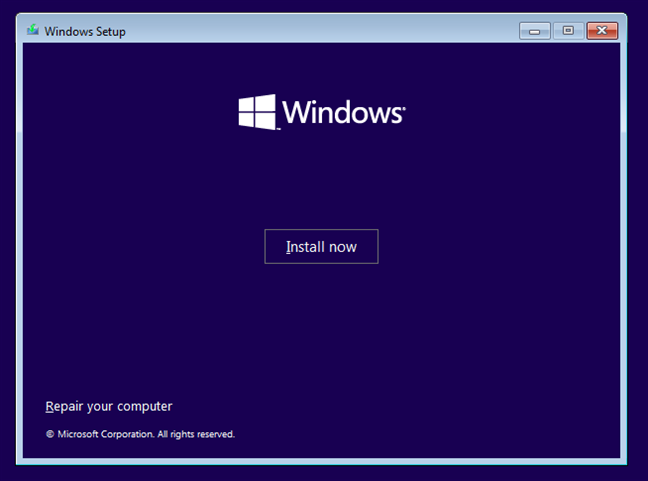
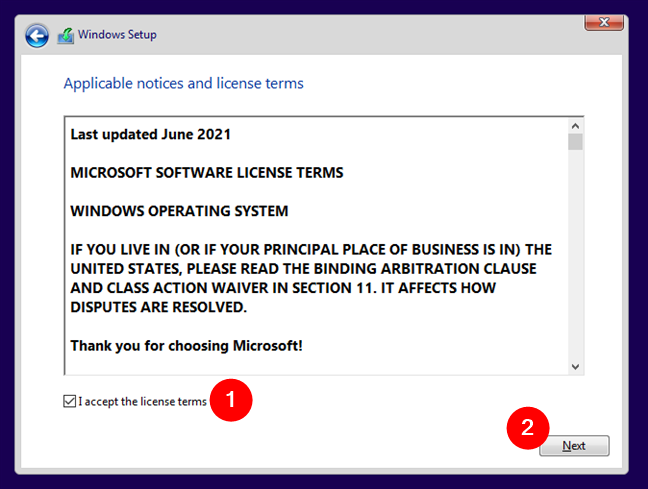
Step 1: Start Windows Setup
Click Install Now.
When asked for a product key, click I don’t have a product key.
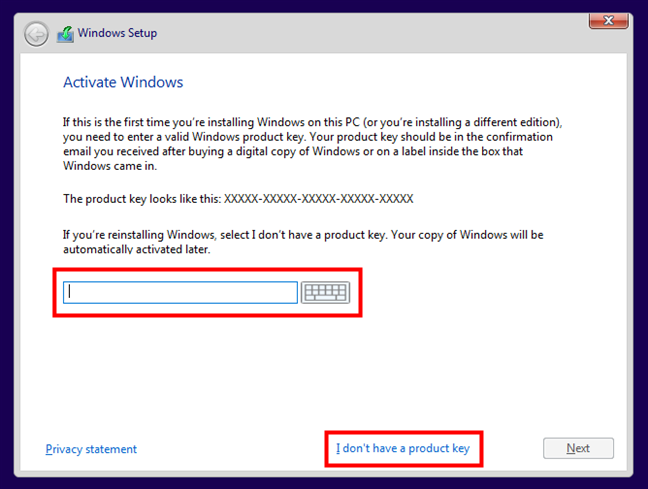
Select Windows 10 Pro edition and click Next.

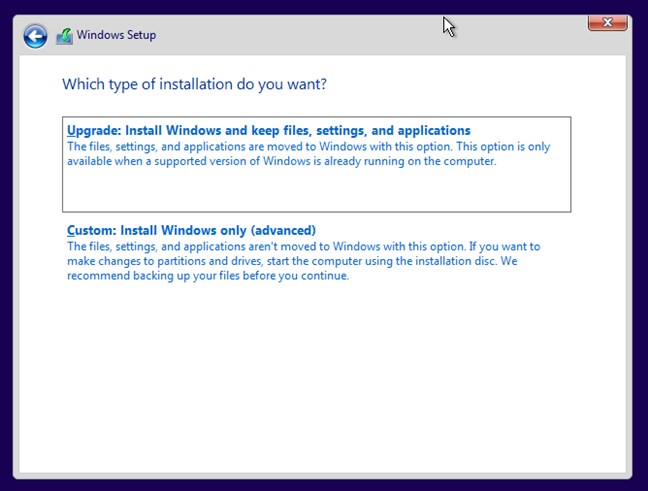
Step 2: Disk Partition & Installation
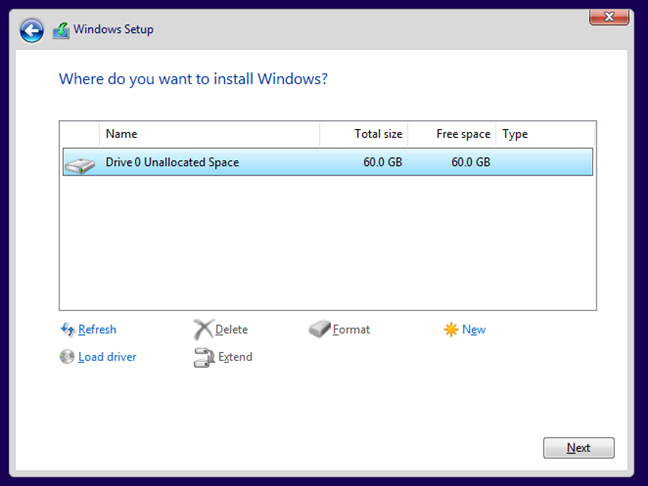
On “Where do you want to install Windows?” screen:
- For a new hard drive: choose “Unallocated Space” and click Next.
- For an old system: delete old partitions, then install on unallocated space.
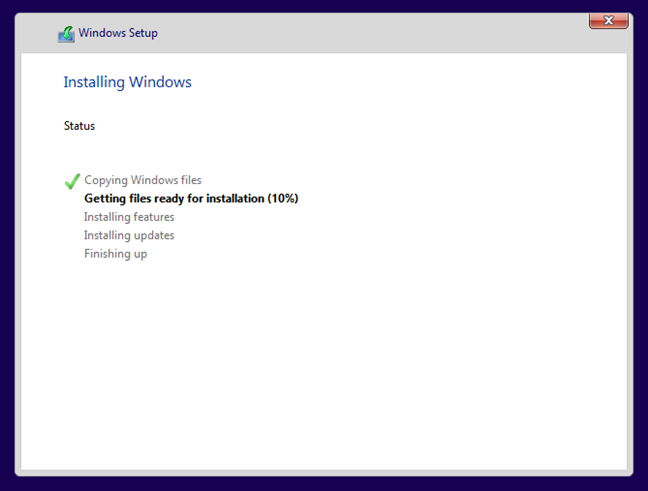
Wait while Windows copies files, installs features, and restarts automatically.
Step 3: Skip Microsoft Account Sign-in
When prompted to sign in with Microsoft account, choose Offline Account.
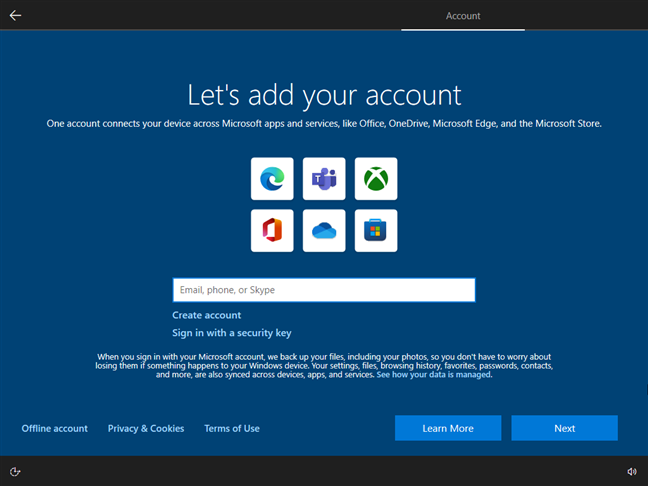
If asked to “sign in for better experience”, select Limited Experience.
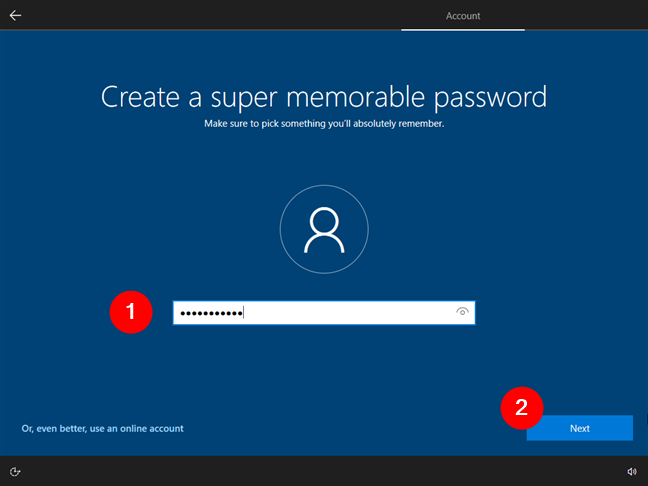
Create a local account username and password.
Step 4: Final Setup & Desktop
Choose privacy settings (you can turn off all options for faster setup).
Setup completes and Windows 10 Pro desktop appears.
Step 5: Activate Windows
If you have a product key, then you can use Change product key to activate Windows 10.
To enter the product key, select the Start button, and then select Settings > Update & Security > Activation. Under the Update product key, click Change product key, then enter a product key that match with your Windows 10 edition

If you don't please contact us.via WhatsApp or Shopee Lazada